Firstly – thanks to
- Liam from Ardex. Great advice – stretching far beyond product advice. Bought my second mixer (Baron forced action) after a conversation with him!
- Alba from Prime Construction, our Building Inspector. Yes, seriously. They have been amazing with us, not complaining when our 6 month project turned into a 3+ year one. Alba has been so helpful in providing assistance on the best ways to do things, and of course signing-off. It’s very important to us that we do things the right way, and Alba has stepped-in to so many “situations” and helped us when other parties have made life difficult for us
- Graham from Stonehouse Property (basement waterproofing). We didn’t go with his quotation for waterproofing the basements, as we decided we could do this ourselves with a lot of care and research. But he came to our site and gave us a lot of friendly technical advice on which I’ve based a lot of our plans in the last year.
- Ben at Newton Waterproofing. If we could do it all again, we’d go with Newton. But our builder left us with a lot of equipment from Delta, so we decided to stick with Delta to maintain consistency.
- The tech team at Delta Membranes
- Screed Giant – for product advice and help. Placing our first order with them tomorrow.
How are we doing this?
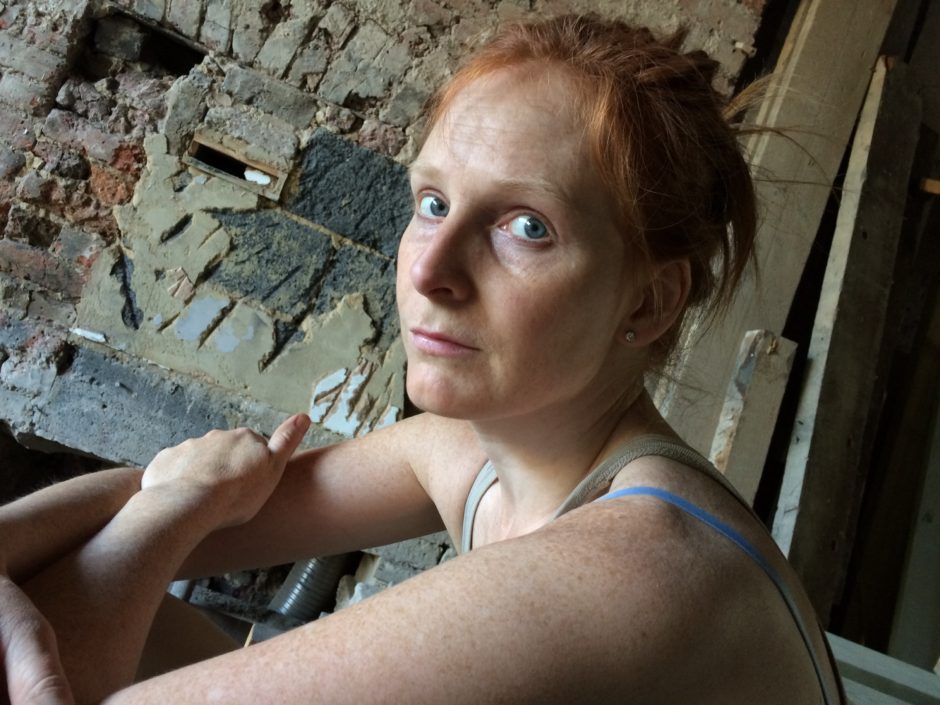
We are building a home ourselves. It’s not plain-sailing. Anna and I have almost killed each other about 6 times onsite so far. This week alone we have spilled blood on bits of metal sticking out of the ground twice. We laugh, cry, and fight. We spend entire evenings trying to place an order for the correct products. We spend our night-times researching the “correct” way to do things. We are not experienced in the building trade, however having seen some of the work by those who supposedly are, I am quite sure the research and painstaking work we are putting in will do justice to the house we will one day call “home”.
What are we doing?
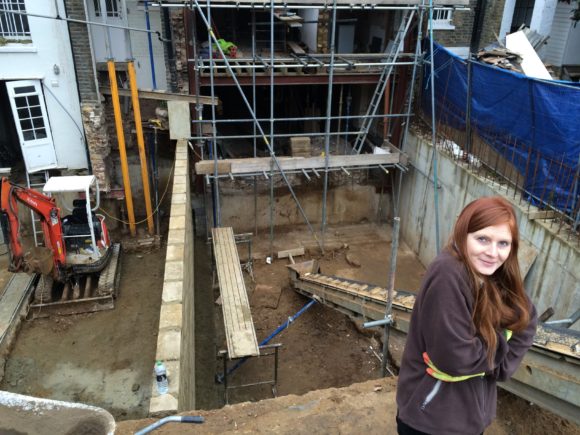
Our home build has turned into a self-build. It started with us hiring a basement company to dig a front and rear basement and complete demolitions and structural works inside two floors of our house, a five-storey townhouse in London. That was three years ago, and the basement company left the project in a right state. Structurally it was signed-off as sound, but a lot of remedial works were necessary. (When I say a lot, imagine having to dig up about 20 skips worth of concrete and start again, doing it yourself. Which we did with after hiring in the consultancy help of experts – but – with our own hands.)
[easy_image_gallery gallery=”683″]
The basement company we used was basically a glorified groundworker who did all our demolitions and sub-contracted various installations of steel, brickwork, and the topic of this post: the installation of a Delta Membrane waterproofing system.
This post is about how we ripped out the latter, and how we are re-installing it with a number of additions, now that our ground floor extension is watertight – more or less.
For readers who don’t know what a basement waterproofing system is, or how it works, here’s the general concept.
General basement waterproofing concepts
When you build a basement, your walls and floor are up against soil. Soil gets wet, and eventually comes through the walls. This water would ruin the internals of your basement unless you deal with it.
There are two general concepts: keep the water out, or let it in – and manage it. Although our basement is really dry because we didn’t hit the water table (we’ve had two years to test this – looking at the walls and sub-base inside it’s bone dry even after flash-floods) nevertheless one is required in the UK to install a “cavity drain membrane system”, i.e. the second way: manage the water, don’t fight it.
Water tables can change, underground streams can be redirected, or the environment can change in 15 years time – so this is a reliable way of waterproofing a basement.
Also in my limited experience of trying to keep water out of buildings – forget special paints, damp proof injection systems, and basically forget anything designed to help stop water coming in. Let it in, and deal with it!
Finally, when dealing with old brickwork in our existing house, previous occupiers have done terrible things to the brick, involving locking-in the moisture which causes damage over the years. This wasn’t an issue when the house was built, when open fires were the norm and triple-glazed argon-filled windows didn’t exist! We will be putting this right.
How the Cavity Drain System works
The modern waterproofing system works like this. Instead of “tanking” the walls – applying waterproof render and hoping to keep water out, instead we install the following:
- Plastic egg-shell like sheeting on all walls and floor. Egg-shells facing towards walls and floor, allowing water to drain down the walls onto the concrete sub base. This is called the cavity drain membrane. It is fixed with special rubber seal plugs into the concrete walls to hold it up. These plugs have screw holes for later attaching battens for stud walls. The rubber seals stop water getting out of the holes that were drilled in the membrane; the water is dripping downwards and takes the path of least resistance. It’s a clever design.
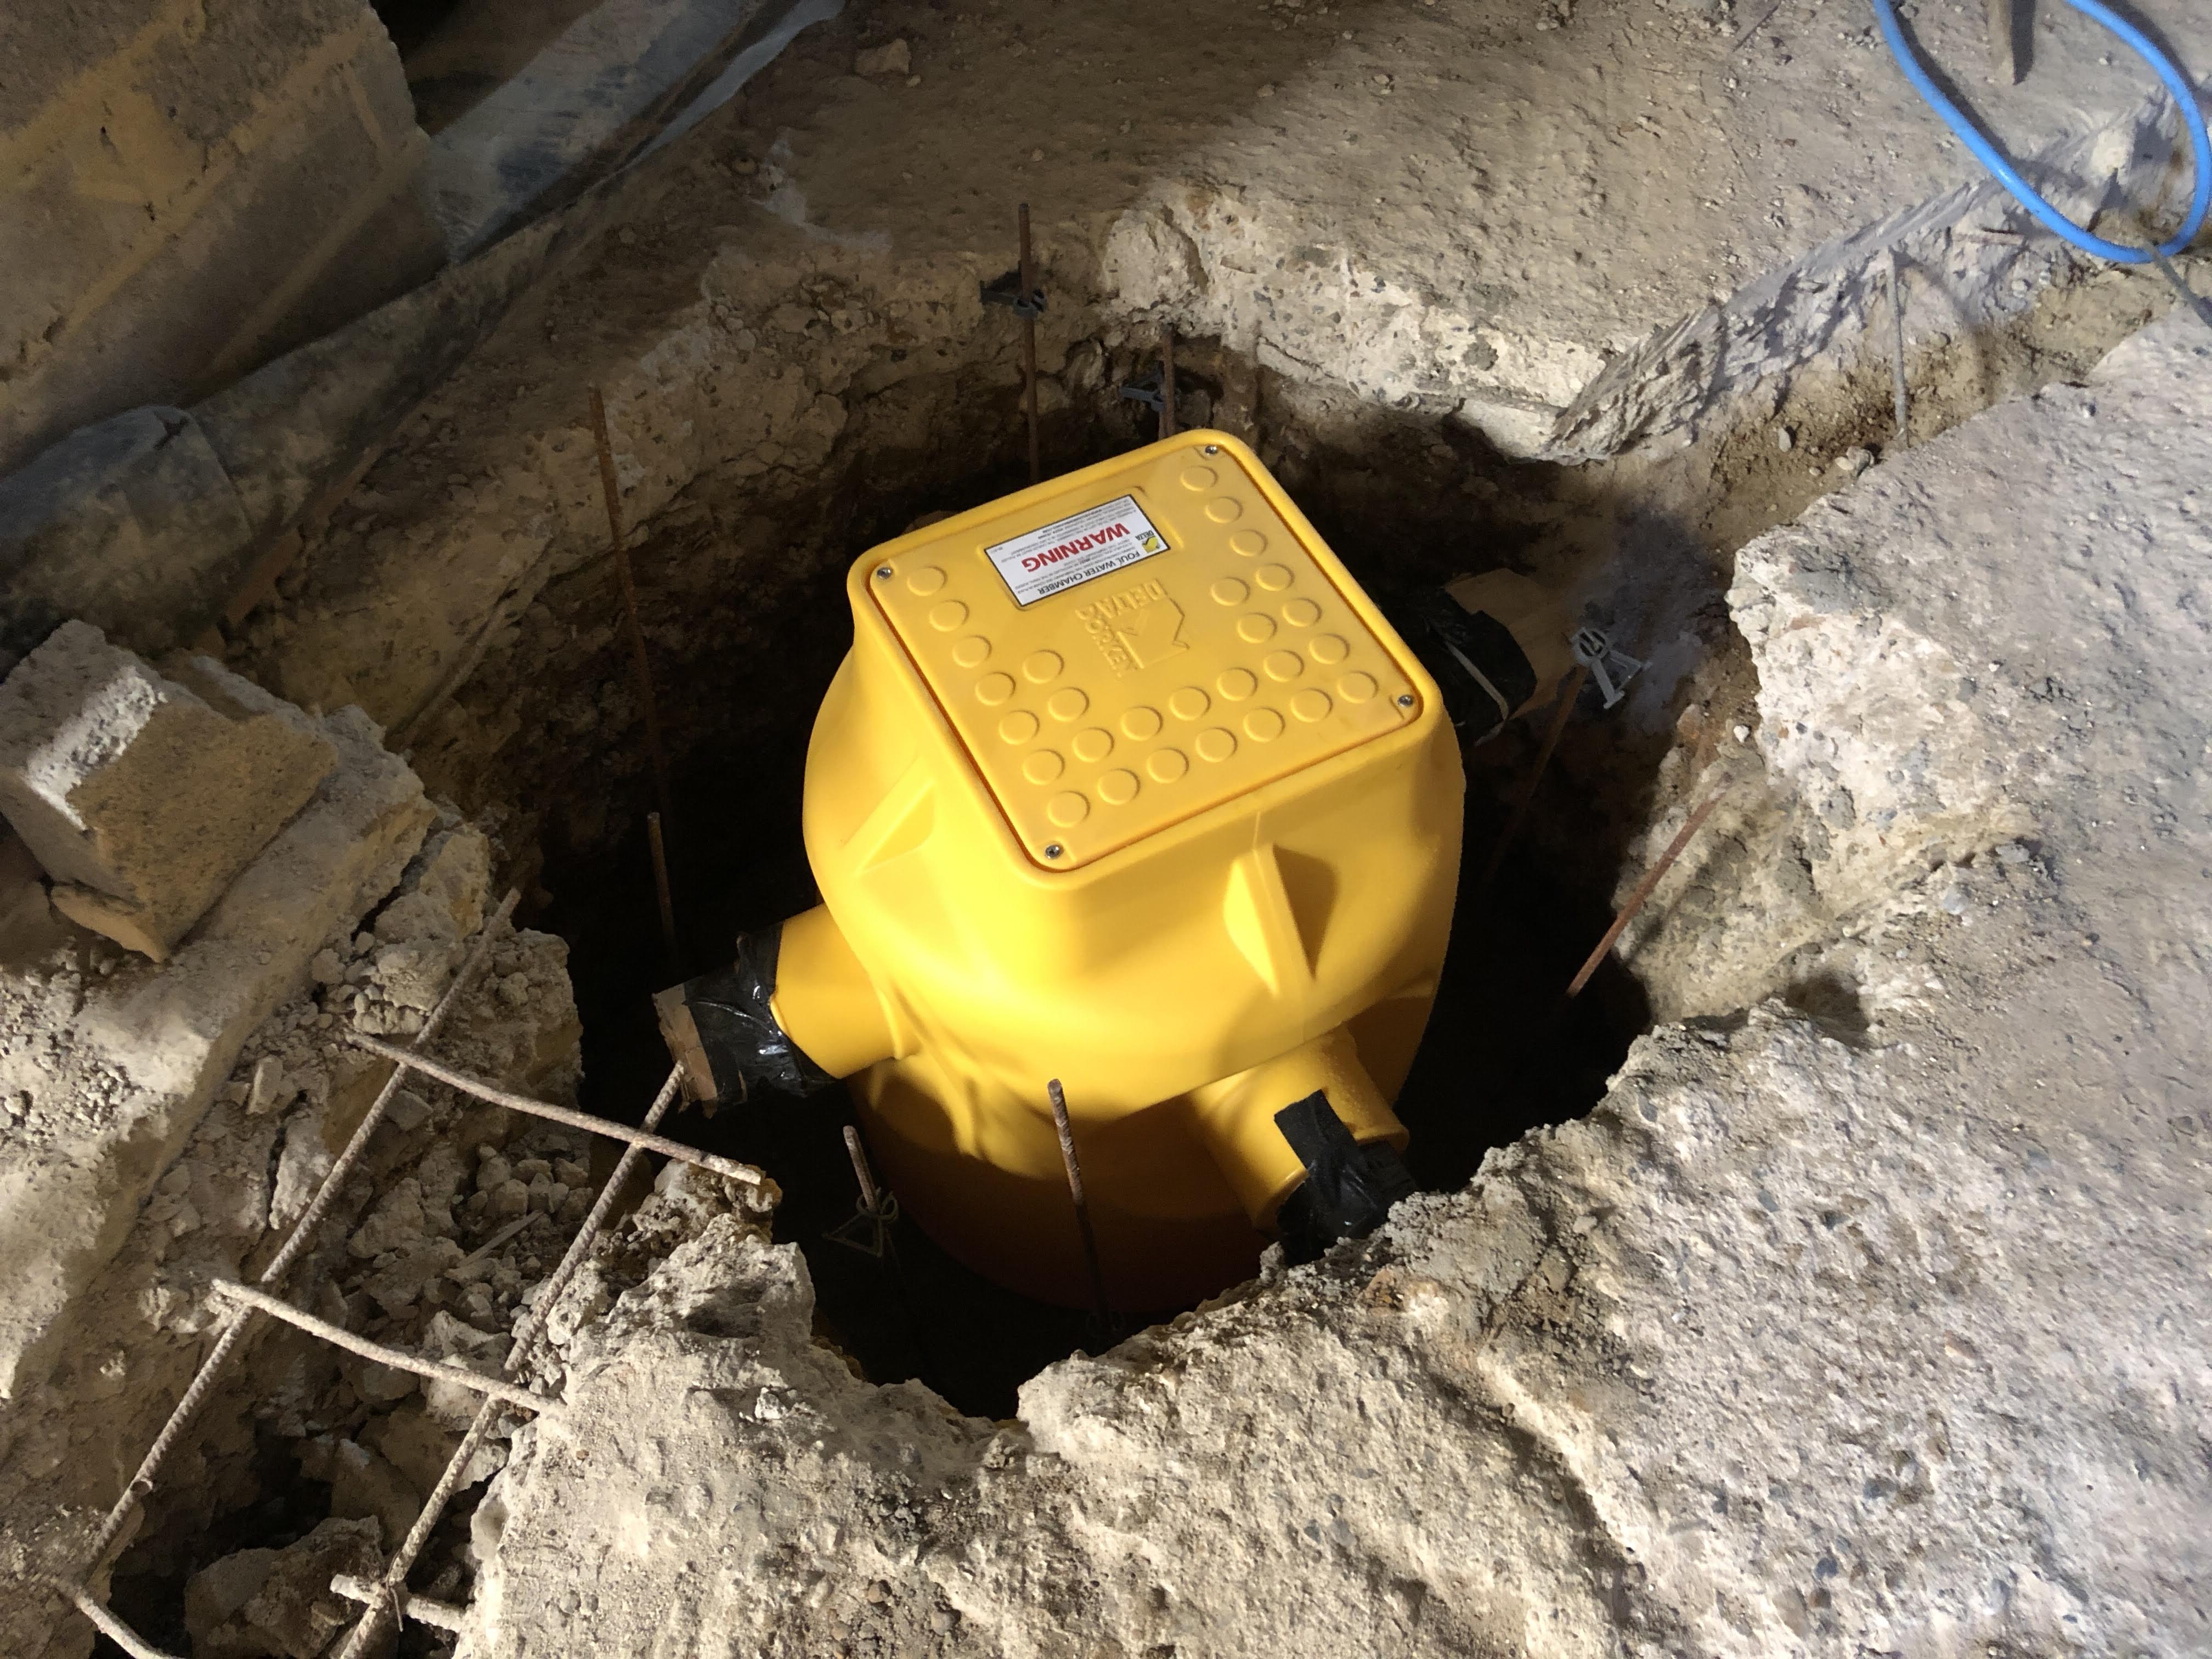
- A big hole in the ground filled with a massive plastic bucket to collect this ground water, with a pump that pumps the water out into your sewage system. This is called the sump and pump. A decent system has dual redundant pumps, backup batteries, etc.
- Various monitoring and protection systems to ensure that you are alerted if the pumps fail.
There are two ways of collecting the water into the sump. Some installers simply allow it to trickle along the ground into the top of the sump (additionally you can add pipes to various points in the ground that also feed into the sump, e.g. for larger areas and to prevent excessive pooling) OR you can install a set of perimeter drainage channels around the room, that lead towards the sump. Water on the floor finds its way to the plastic drains and into the sump.
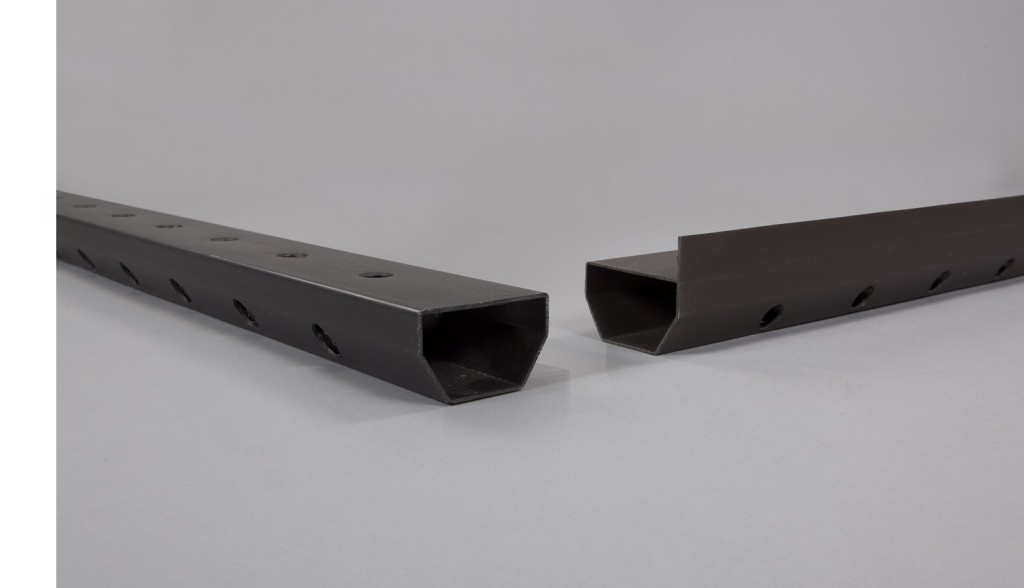

The benefit of the perimeter drains is that any debris over the years can be flushed out, and the channels can be inspected. Note, all of this is installed underneath your floor insulation and screed.
The ground membrane is more substantial in thickness and size of egg-shell than the walls, because it must resist any uplift due to water pooling, also it needs to be structurally capable of taking the weight of the flooring without collapsing.
Why are we – the homeowners – doing this?
As with all things, you can install it the “basic” way, or the “really good” way. Our builder didn’t do a proper job of clearing the rubble from the concrete sub-floor before installing the membrane. We found cigarette butts, loose rubble, and all sorts when we lifted the membrane. After our basement company finished, we took the decision to rip it all out and re-install.
Despite the fact our builder’s sub-contractor is registered with the company who makes the system they installed – Delta Membranes – it doesn’t change the fact that the job wasn’t done well and indeed the people before them didn’t prep the area properly.
We had another company come in to quote the work, and it was in excess of £30k.
Things we want to do differently [better]
After a lot of reading, discussions with professionals and experts in the field, and testing, we are in a position of great confidence that we can now re-install the waterproofing system to a very high standard, certainly higher than it was done by the basement company we had in to do the works:
- Completely wash-down all surfaces before installing the membrane
- Spray the concrete walls with a special lime-resist substance. Lime from new concrete clogs up passages. This doesn’t completely stop lime coming in, but it holds it off for a really good amount of time, e.g. 10 or 20 years.
- Install the perimeter drains mentioned above
- Fit more plugs (fixings) in the wall membranes per square metre than were fitted before. The plugs drill through the membrane into the concrete wall, each plug has a special rubber seal
- Lap the membrane up under the soffit to ensure water coming through at the construction joins at the top is caught properly
- Install a second layer of membrane up against the first (with different dimple size so one doesn’t fit into the other) – just for the first 500mm of wall at the bottom, in the utility room which will be warmer and more moist than other areas, in order to catch interstitial condensation from the moist air in the room
- Completely level the floor with a waterproof bonded screed, so that water finds a relatively equal level across the area of the floor, and into the perimeter drains. Previously the builder had left the concrete sub-base with a lot of variation in level – the lowest point was about 70mm lower than the highest point! The membrane egg-shells for the floor are 40mm, so that level of variation was unacceptable to us. Flat floors prevent water from pooling – and we don’t want puddles that will stick around and potentially bring bad smells!
- Pour concrete around the sump (actually both sumps, see below) as well as a good concrete base for both sumps. Previously the sumps were surrounded with soil. They don’t have a habit of caving-in with the pressure of soil and they are built to withstand a lot of mass, but still – concrete around the whole lot is recommended.
- Build my own alarm notification system, using the high level alarm floats that come with the pumps. The alarm system you buy is £200 for the most basic thing that beeps – with an arduino, cloud-based server, and battery backup system I plan to design and build my own notification system that will tell me about any problems if I’m sitting on a beach in the Bahamas*. I am a home automation nut, and am going to integrate this into my whole-home automation system based on openHAB and MQTT.
- Do a better job of plumbing the discharge pipes. Previously, standard waste pipe was used, and the temporary fitting supplied with the sump was used instead of a high pressure fitting. Discharge pipes should be Class C or above – this refers to how strong they are in terms of withstanding high pressures of water. Believe me – I’ve tested it – and completely soaked myself (!) – the water coming out of these pumps has some serious pressure behind it!
* I have never been, nor probably ever will go to, the Bahamas.
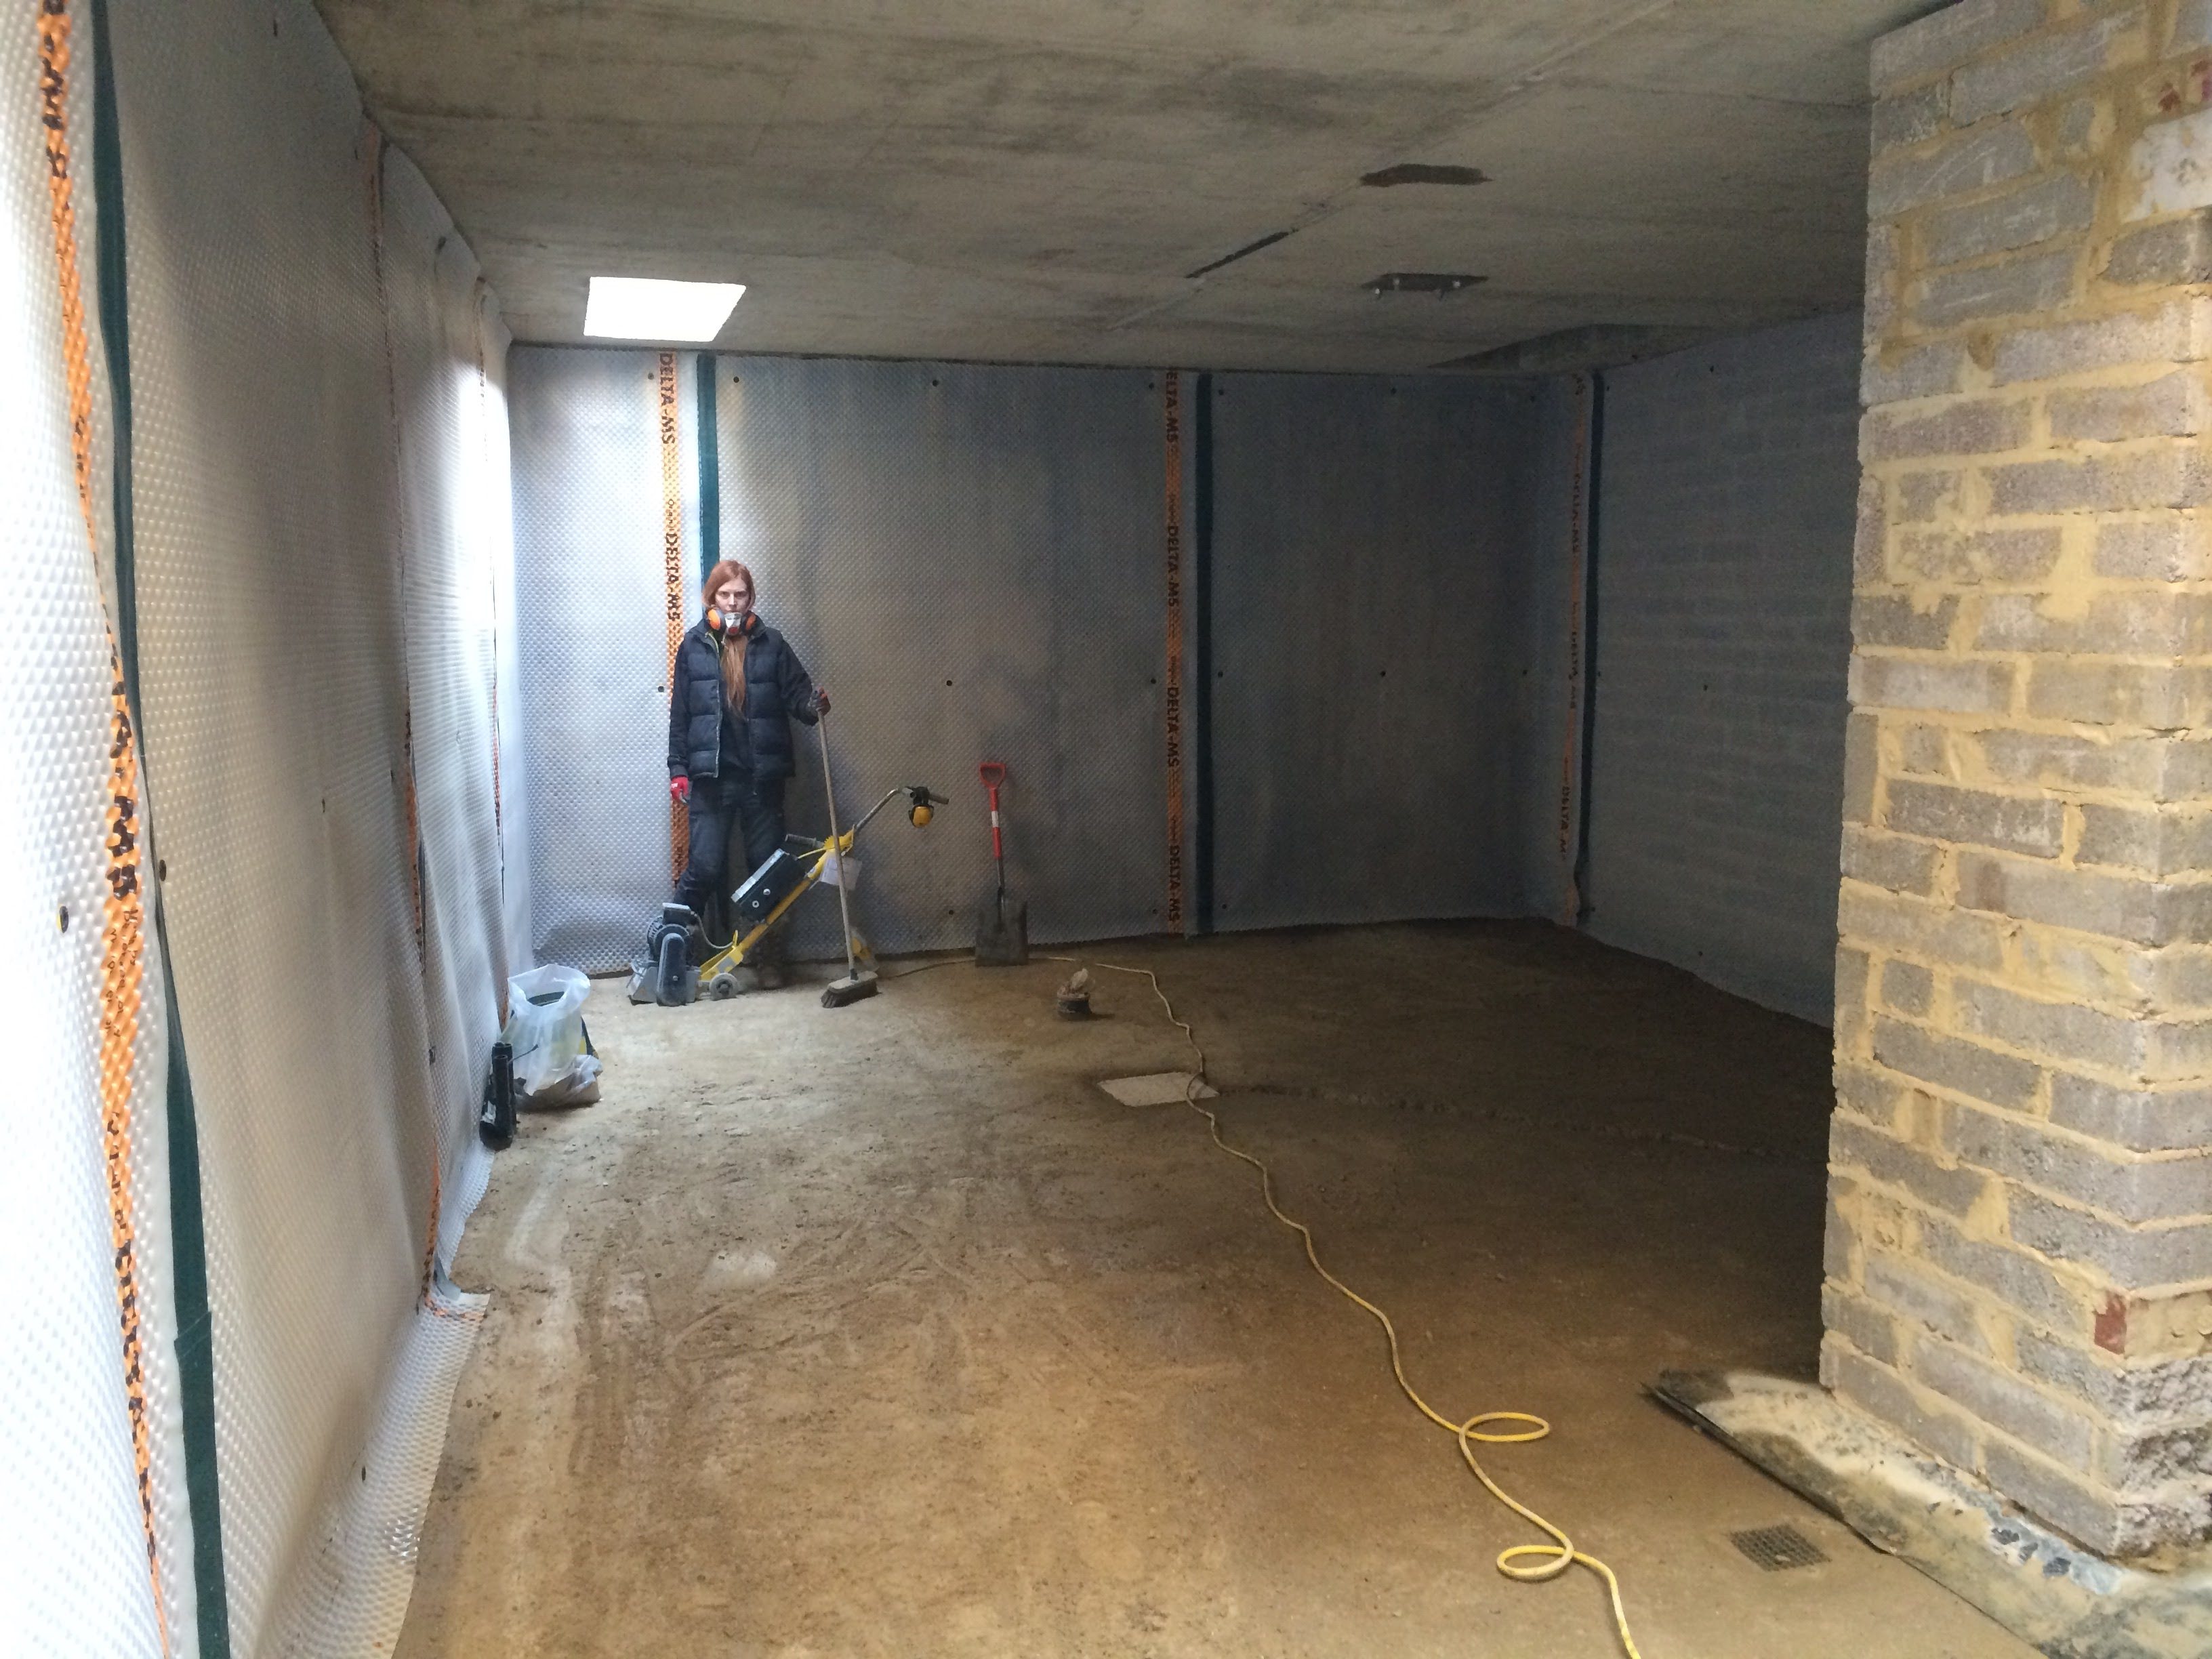
What we’ve done so far
Here’s what it looked like after our builders left it:
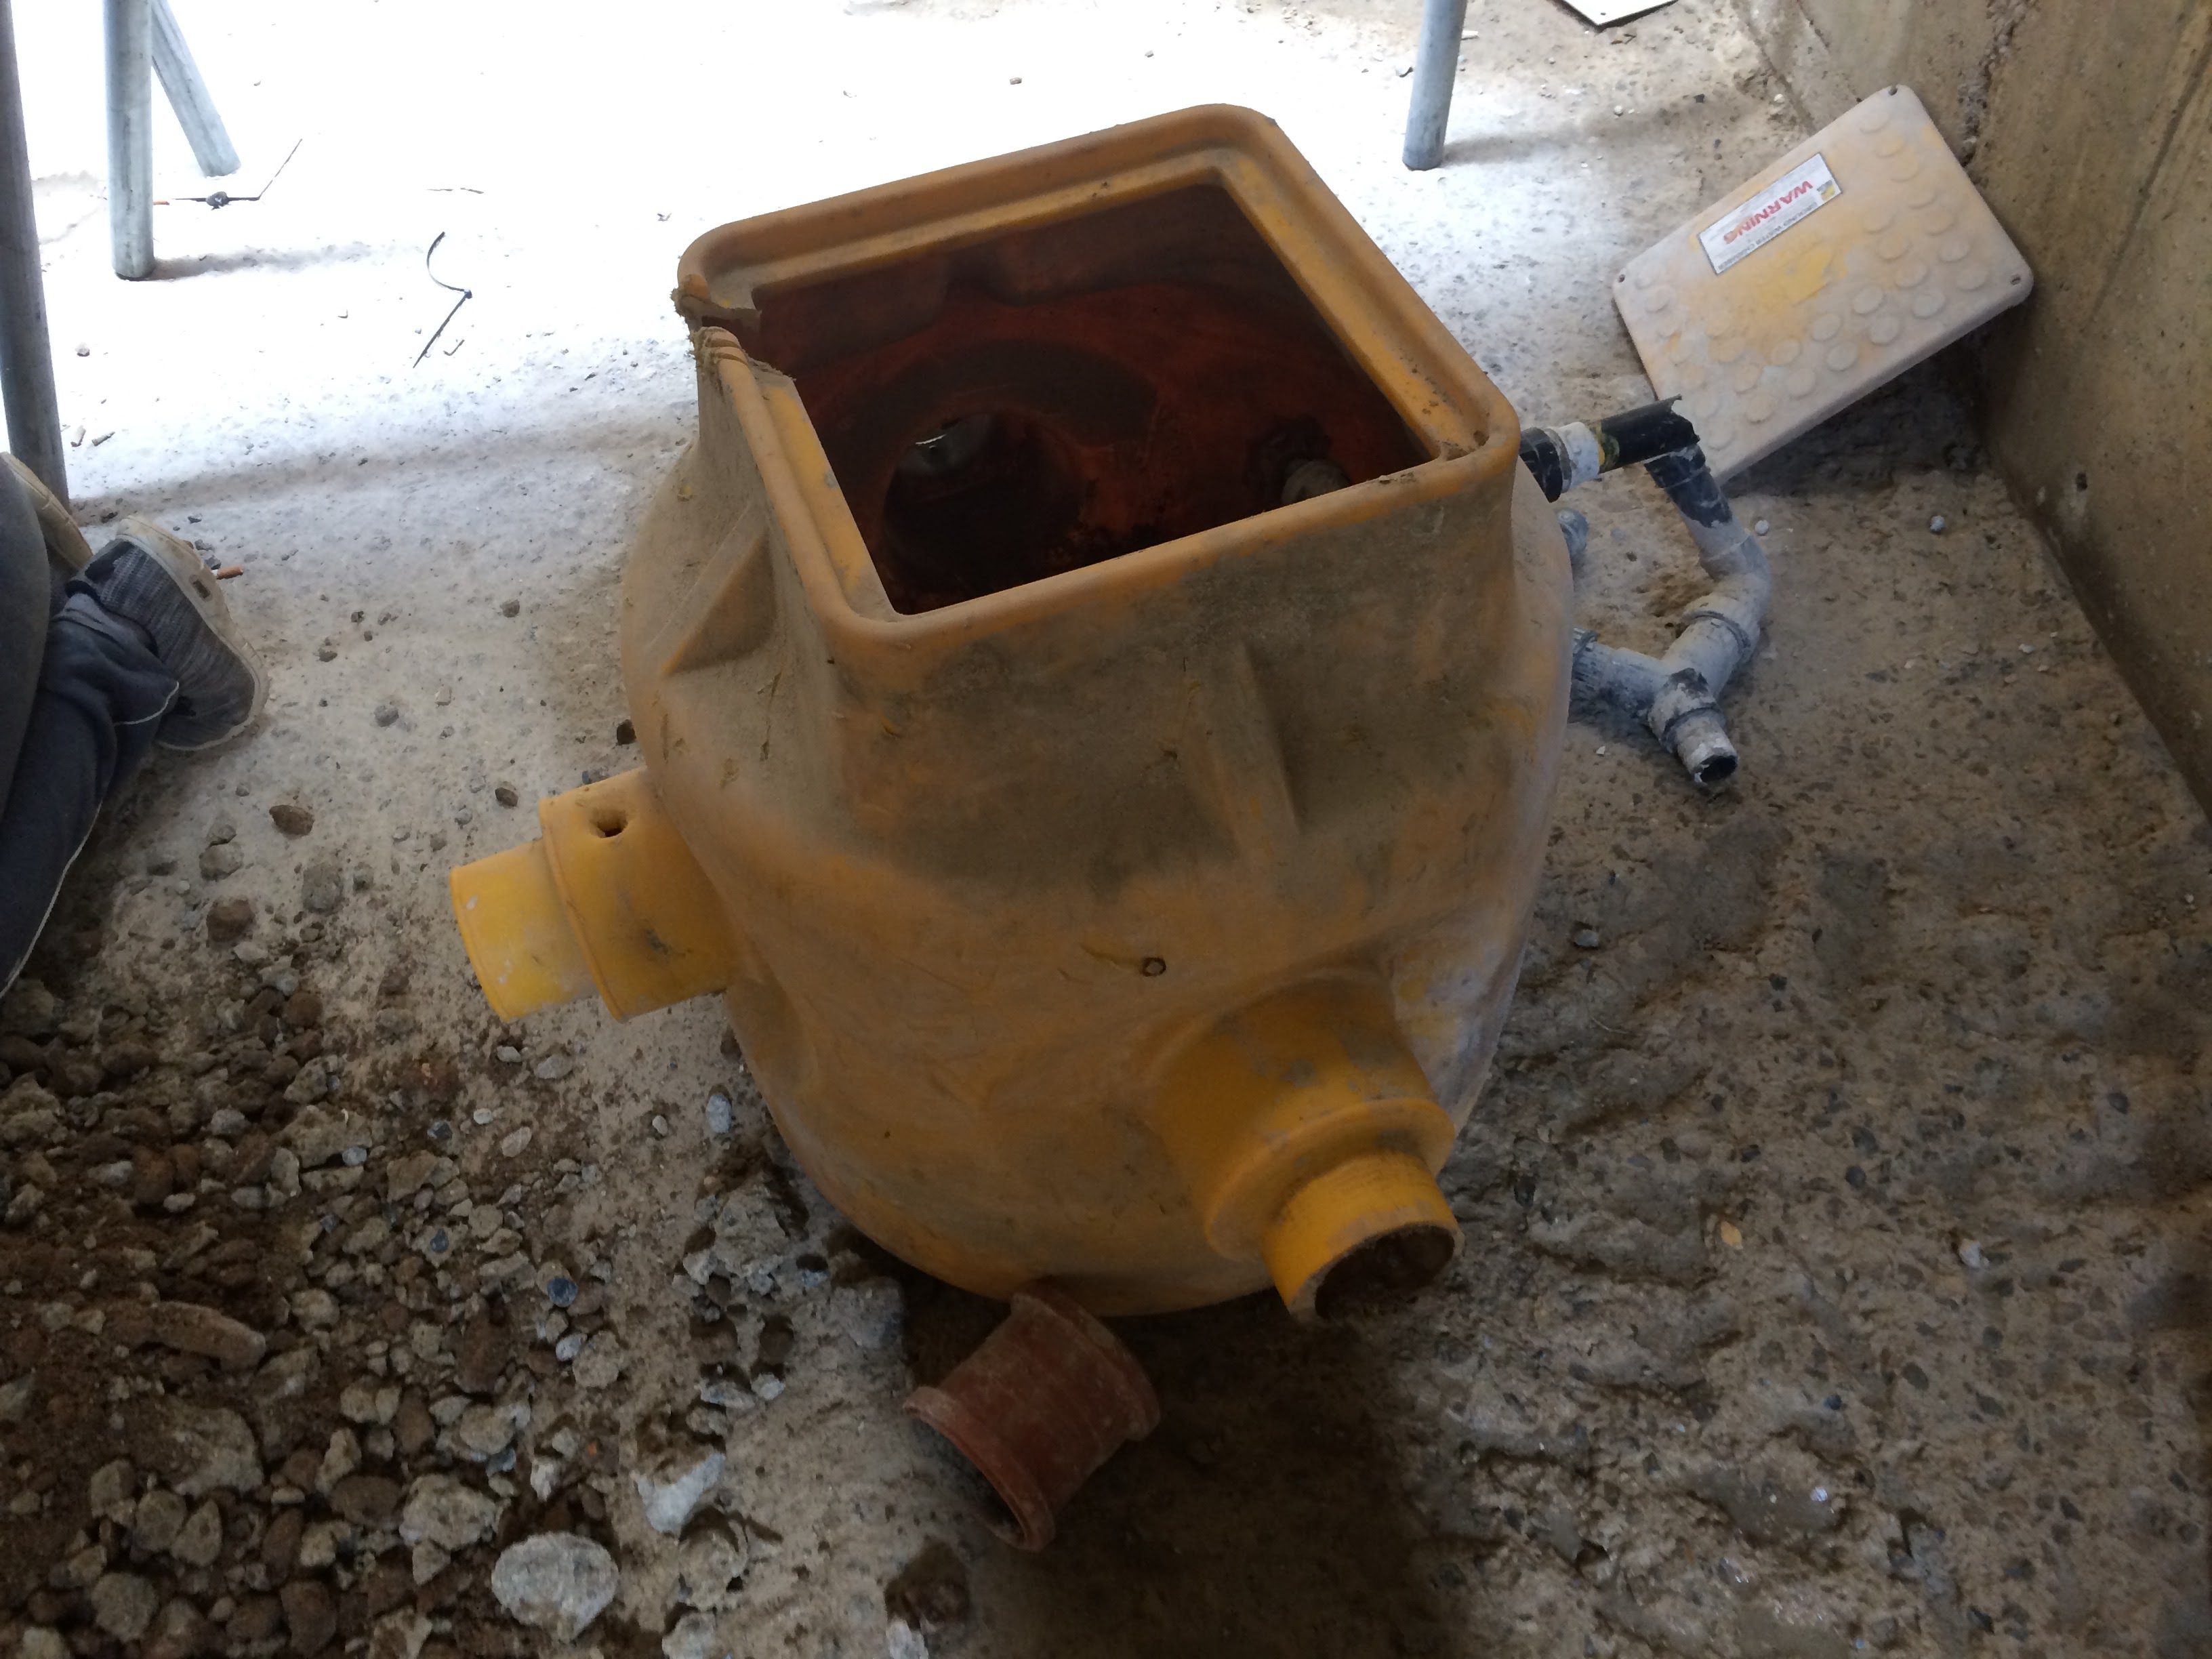
We took the drastic decision to dig up the old sump out of the concrete base and re-install from scratch. We found a lot of wrongness in the way they were installed.
Importantly, we also decided we wanted to have a toilet, shower, and utility room in the basement (previously we didn’t plan for this), and it turns out you must install a separate sump for foul. The groundwater sump cannot be a sealed system, but the foul sump must be, so their function cannot be shared.
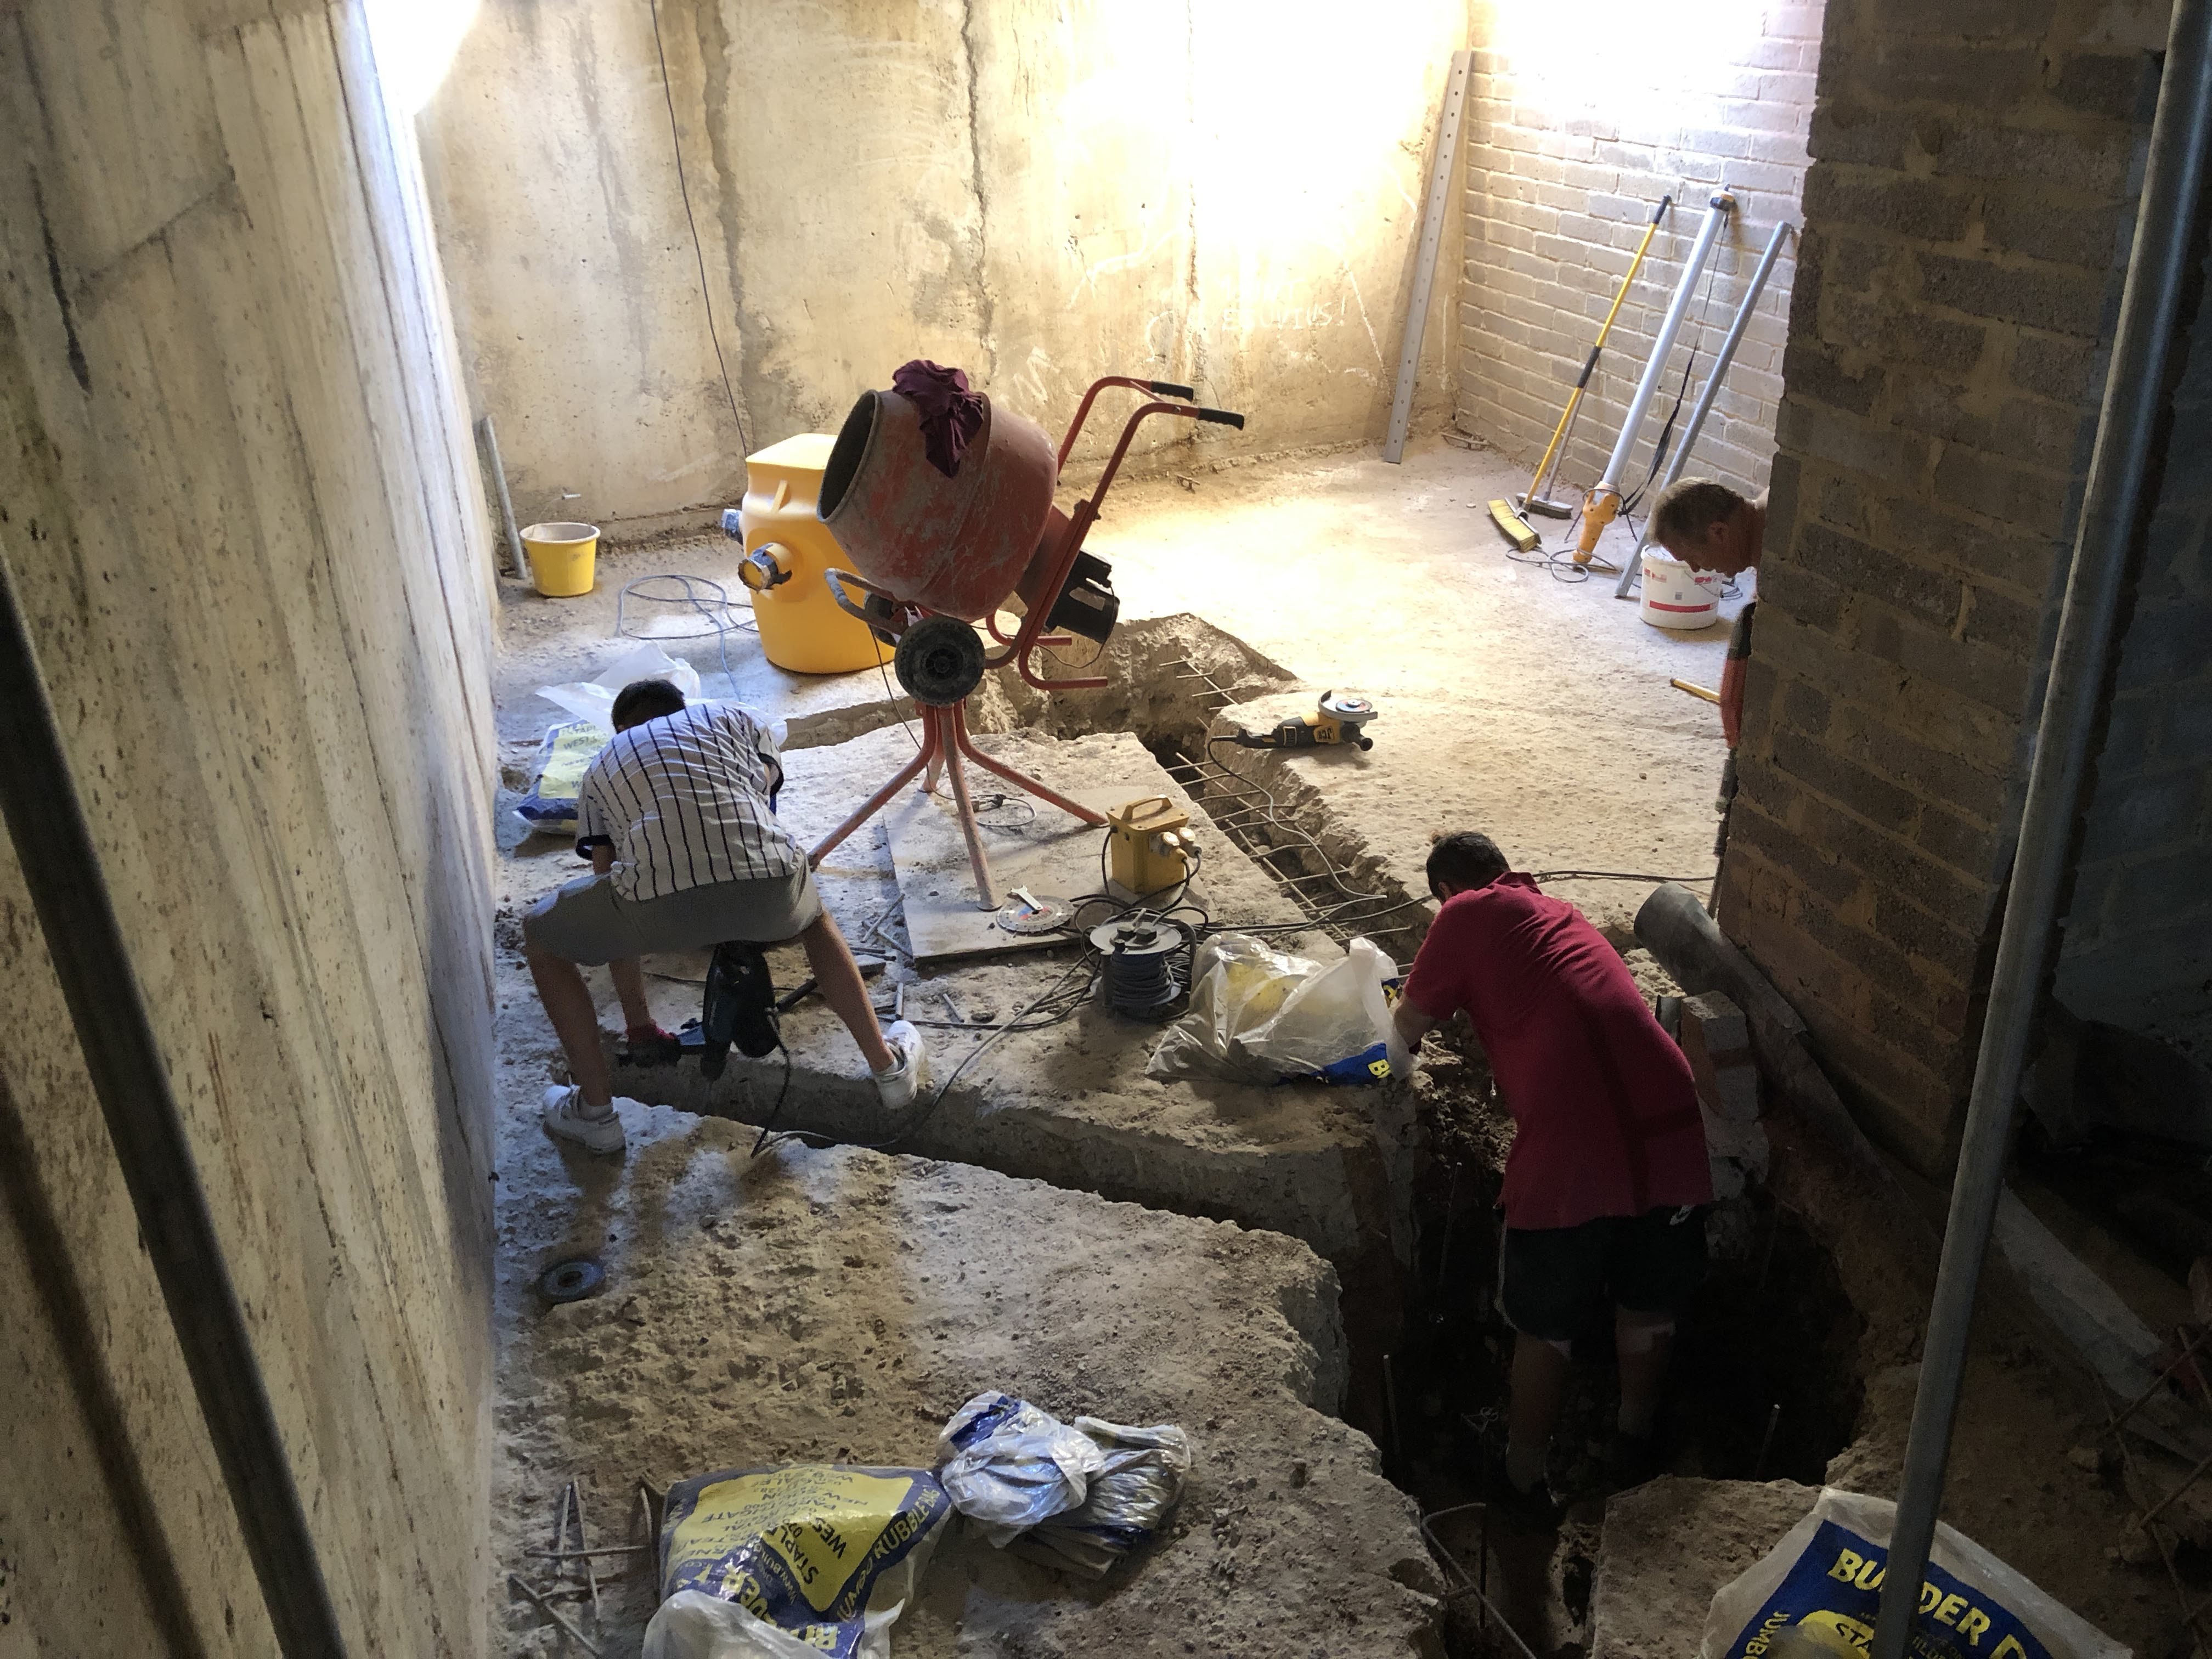
So to date we’ve done the following additional works ourselves:
- dig out the sump installed by our builders
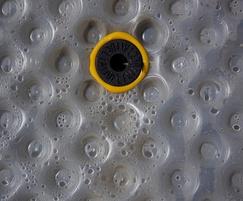
- scabbled the whole floor to remove high points, to minimise variation in the level. We used a rotary scabbler / scarifier (difficult to get hold of). See below pic. That was a horrendous and painful job
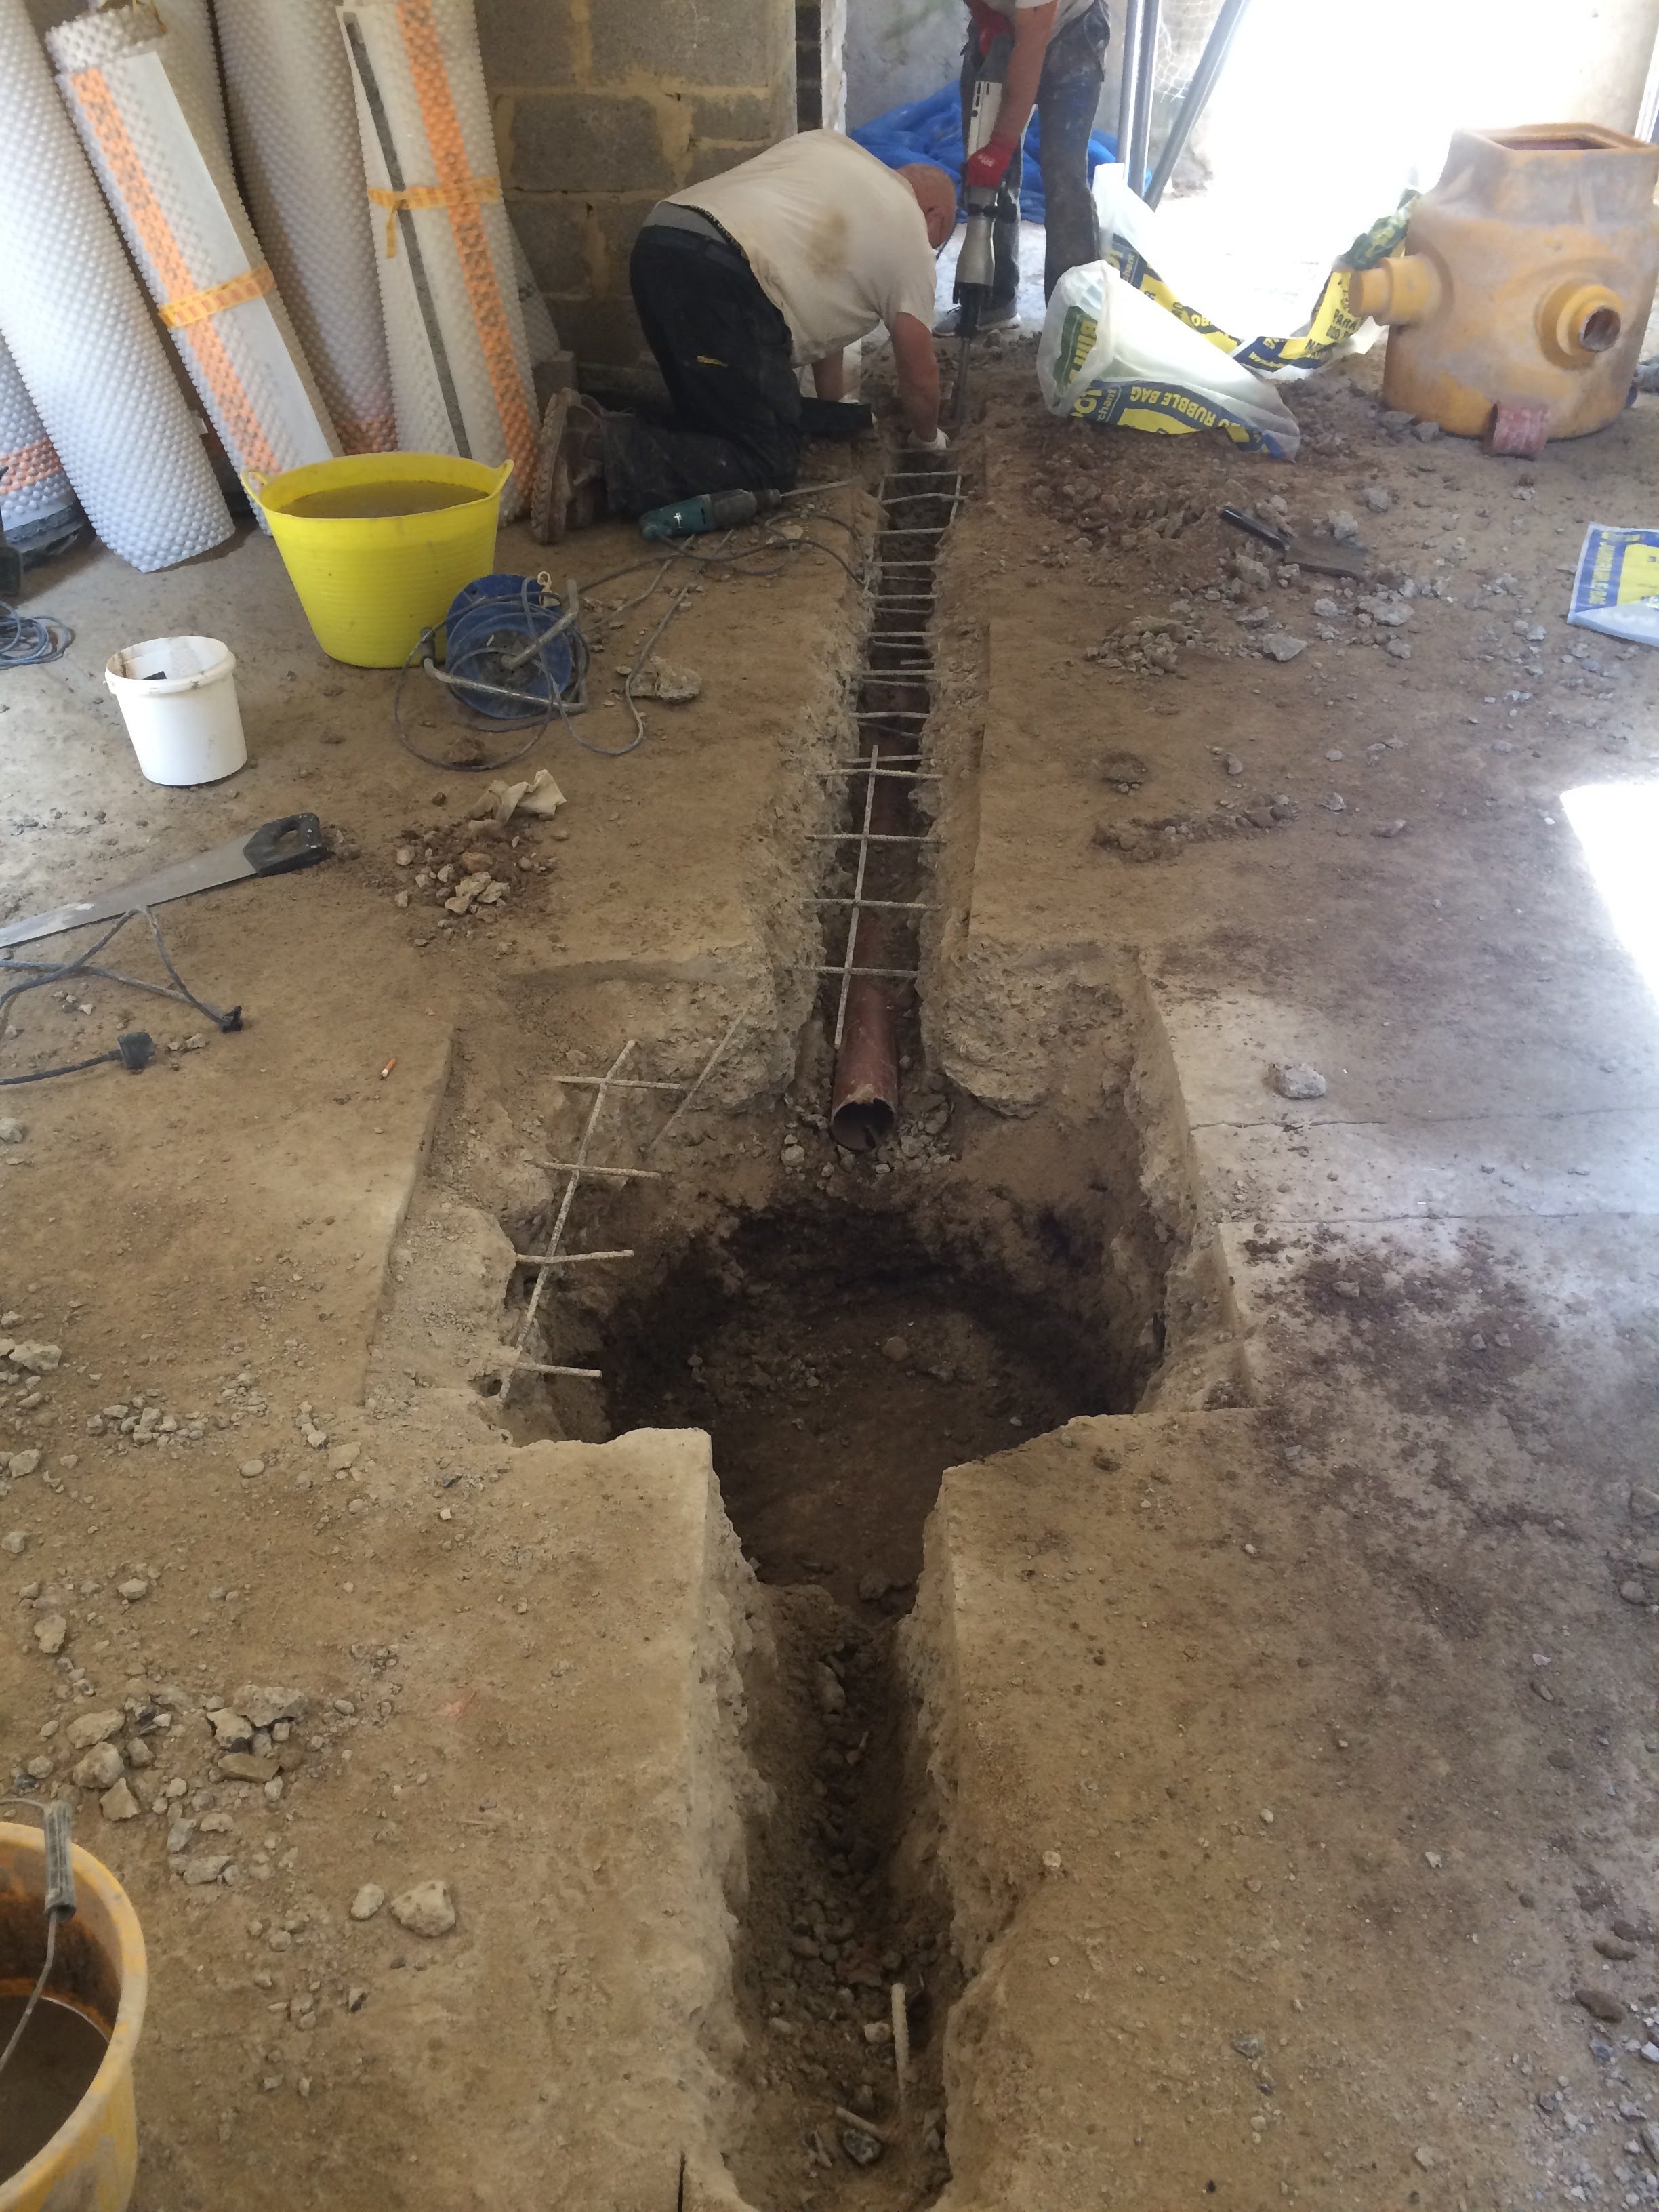
- dig a new hole for a foul sump
- dig channels for foul drainage to various points in the room
- install new underground drainage, discharge pipework, cable ducts to both sumps, and a vent duct for the foul
Sounds simple – but the above has, in total, been about 4 weeks of solid work with 3 labourers. Excluding the removal of membrane and sump, and excluding the Scabbling Marathon. (Scablathon?) Back-breaking work I tell you!


Tomorrow we plan to back-fill the trenches and sump areas with concrete, then we’ll make a start on the bonded screed.
Bonded Screed
We have been researching bonded screeds now for over a year, including many discussions with the good people at Ardex – ardex.co.uk – who make an excellent product that can go as low as 20mm thick and as high as 50mm. Actually we’re advised we can take it slightly lower and a good bit higher than the published thicknesses with judicious mixing and application.
Thanks so much to Liam at Ardex who has helped us hugely and chatted on the phone to us a number of times. He told us early on that we should be using a forced-action mixer to mix this screed, not a normal cement mixer. The consistency needs to be extremely good for a bonded screed at 20mm.
After about 9 months of searching, eventually we found a second-hand Baron mixer on Ebay in mint condition for £900 – about half its retail price and never used. Super. Again – I had a really useful conversation with the manufacturer Baron to learn about their different products and settled on the M80. It has the same motor as the larger version, but is suitable for smaller jobs. Actually ours is a medium sized job, but we plan to do it in sections. Look at this beauty.
Thanks to Baron – www.baron-mixer.com for the technical advice, even though I told them at the start I was hoping to pick one up second hand, they were SO helpful over the phone.

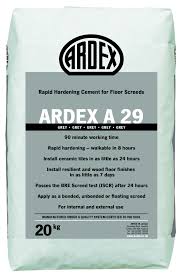
It may be possible to do a normal sand / cement screed, but such a screed isn’t really properly waterproof. Ardex A38 is spec’d for e.g. swimming pools. Actually after another discussion with Ardex tech support (who are extremely helpful) we have settled on Ardex A29 which has a 90 minute working time (longer – good for people who have never screeded before!) and is a lot cheaper than the A38.
Before applying the A29, we need to make screeding rails (so as to be able to screed to a perfect level and flat) – that should take a couple of days of messing around with bits of wood and laser levels. The Ardex data sheet says we should make up a grouting slurry to allow bonding using two other products of theirs.
We are buying the Ardex from an excellent company called Screed Giant – https://www.screedgiant.co.uk/ – thanks for the tech support and really helpful customer service guys!
After that, we will put the membranes back on the wall – not an insignificant amount of work as well! Once that’s done – we have a waterproof basement. Hurrah!
Other details
I haven’t yet mentioned that our basement also has steels under the soffit. These don’t actually hold the concrete roof up. The roof was spec’d as a suspended concrete slab, but we had these spec’d by a structural engineer and fitted by a different steel company after our contractors left due to – ahem – issues with the suspended slab. So they are a “belt-and-braces” attempt at making the slab above a bit more beefy. They are certainly putting my mind at rest, even if they aren’t definitely required.
Cost of this little project
We plan to do this work to both rear and front basements. Also because the LG floor (lower ground) of the existing house is below ground level, I want to do the same to the internal house – a large space. It’s a brick-built house, but the same system works. We will drain the LG floor into the rear basement sump. The front basement has its own water sump.
I costed the work out just for the back basement and guess what – it’s around £11,000 including labourer time at 60-100 quid a day per bloke. (Plus all of our time personally.)
So yeh – by the time we’ve done all this work ourselves it will be around the same cost as the professional waterproofing company. That said, much of this cost is to fit a new foul sump and pump and to level the floor. None of which were included in that quote. So we are spending as much, but doing a lot more.
Leave a Reply